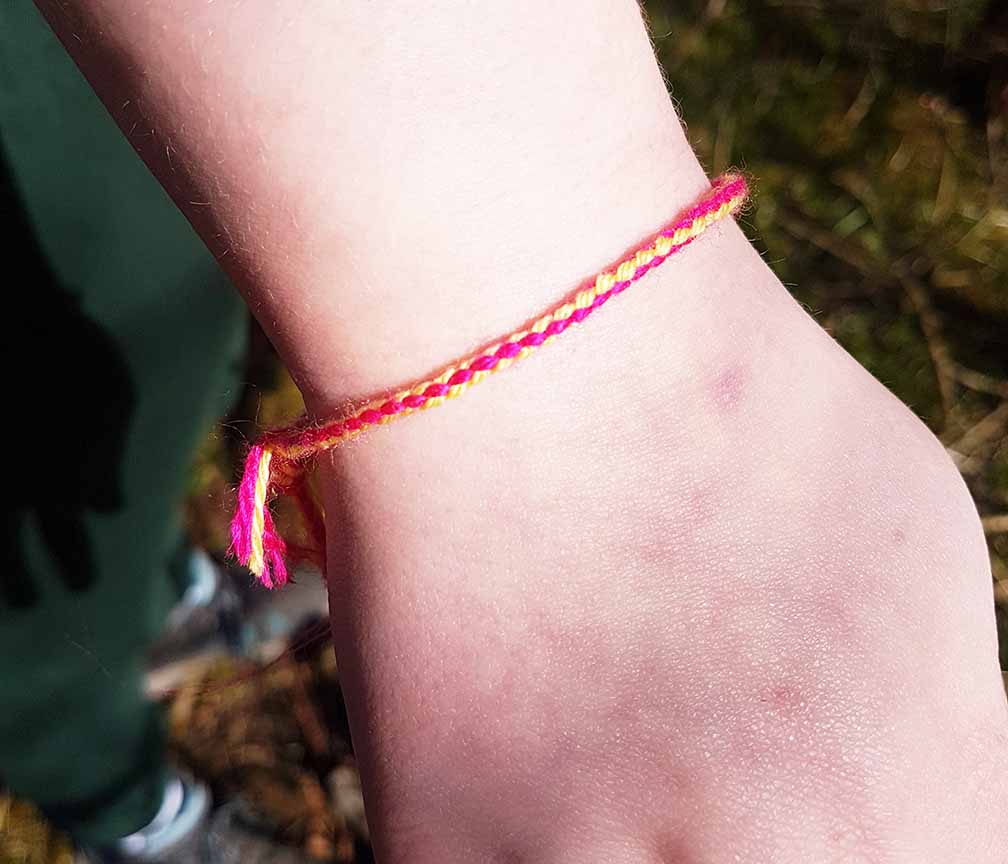
Nordic braiding
All you need to make your own nordic braid is some string or wool and a bit of rhythm! You can make your braid into a bookmark, wristband, hair tie…. you decide. Follow the step by step instructions below to get started or download our activity guide
There's also a great video here by our friends at We Be Kids
Make a nordic slinging braid
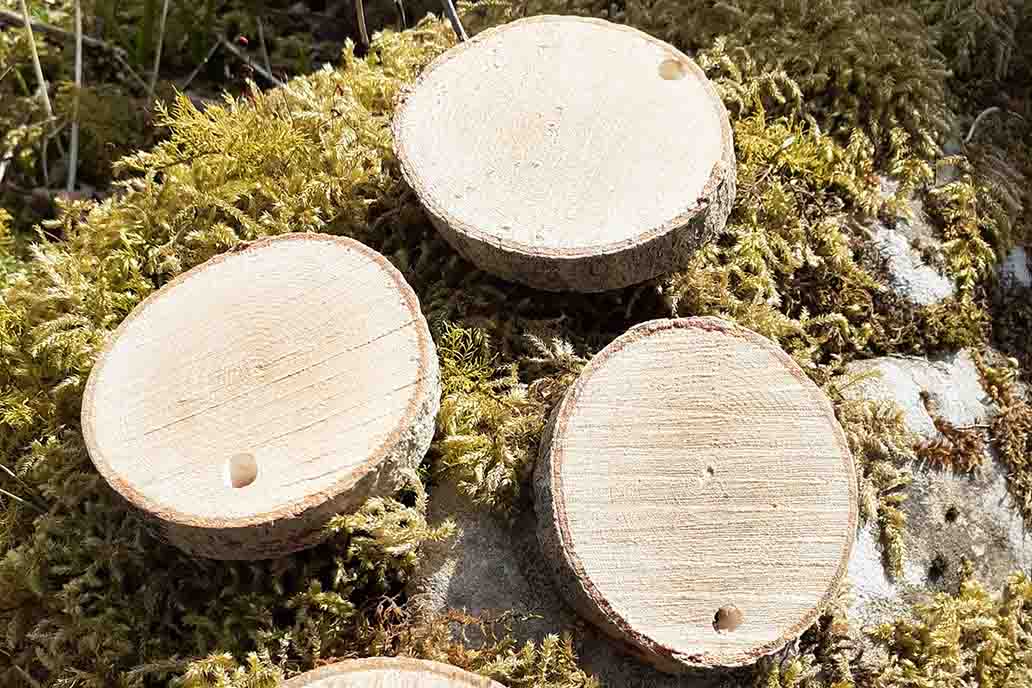
You will need • Coloured wool or string • Sticks or wood cookies
Step 1
Select two long lengths of different coloured wool and hang weights off each end (we used wood cookies but small sticks would work).
Step 2
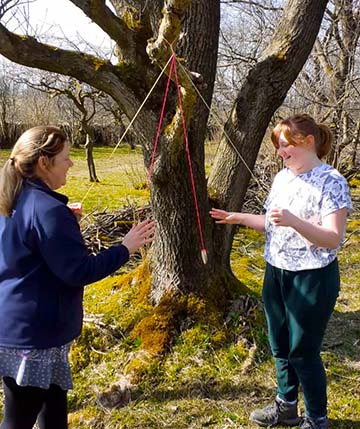
Next you need to hang them from head height, by looping them over a branch or washing line and knot them together at the top.

Step 3
Stand opposite your partner, facing each other. Hold one of the weights, each with a different colour wool, in each hand.
Step 4
Now the fun starts! Swing the weight in your left hand towards your partners as they do the same towards you! Catch! Now repeat with the weight in your right hand.
Step 5
Keep repeating these actions building up your rhythm and skill…left, right, left, right. You can try to speed it up as your co-ordination builds or slow it right down. If someone drops their weight, well that’s half the fun! Just untangle the string and start again.
Look up, you will see a braid developing above your heads - magic!
Step 6
Keep going until the braid is the length you want and then snip off the sticks and tie a knot. Do the same at the other end and trim the tassels. What will you use your braid for? It could be a bookmark, a friendship bracelet, a hair tie… you decide!